If your tap is leaking the first impulse may be to call the plumber. While this will certainly result in the leak being fixed you can save the expense by fixing the leak yourself. This is one of the most common types of DIY projects performed around the house because it’s relatively easy and doesn’t require any special knowledge or high tech tools to perform. It’s usually just a matter of replacing the washer inside the tap. Below we’ll provide you with step by step tips to fix your leaking tap.
Remember to Pick Up the Washer Before You Start
As we mentioned fixing a leaky tap is usually no more complicated than replacing a worn out washer. So before you shut down the water supply and take apart your tap take a photo of that leaky tap. Bring it to the hardware store and show the person there. They should be able to supply you with the type of washer you need.
Tools You Will Need to Fix a Leaky Tap
- A screwdriver
- Adjustable wrench
- Rag or cloth
Fixing the Leaky Faucet
- Shut down the water supply – The first thing to do is to shut down the water going to the tap. The shutdown valve is located under the sink. There should be one for hot and one for cold. Turn off the appropriate one. Then turn the tap to ‘on’ and drain away water already in the pipe.
- Unscrew the handle – Use your screwdriver to remove the screw holding the handle in place. Make sure to place the screw where it’s safe and you can find it later. Use your rag or cloth (or sponge if you prefer) to wipe up excess water and keep the work area clean and dry.
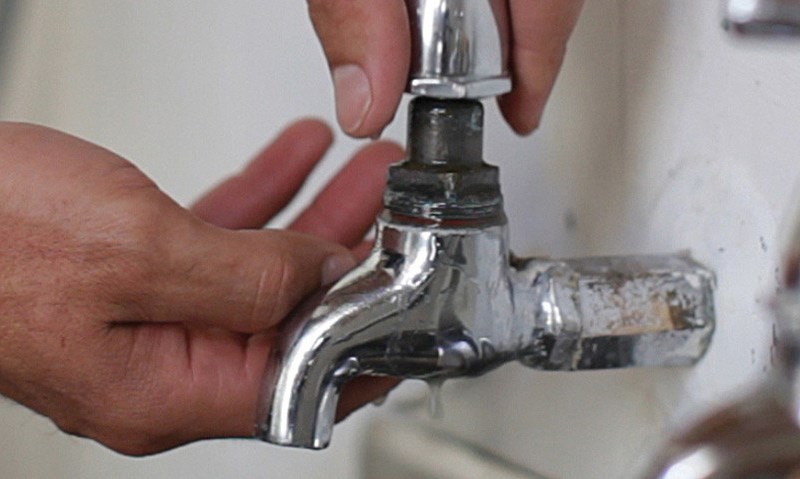
- Remove the gland nut – Next, use your adjustable wrench to remove the gland nut (sometimes called the headgear nut). It will be the only nut you see that will accept the wrench. Turn it counter clockwise until it’s off. Then remove the remaining mechanism, exposing the washer in the process.
- Remove the washer – Use your screwdriver to get under the washer and pry it loose, then remove it. Sometimes the washer will have begun to decompose and may come up in bits and pieces. Be sure you remove all the pieces and that the surface the washer was sitting on is completely clear of washer debris. Then and only then put the new washer in place, reassemble the tap and turn the water back on under the sink.
Notes:
- Performing this type of fix shouldn’t take more than about an hour.
- If water is leaking from the body of the faucet (rather than the spout) it usually indicates damage to the pipes. In which case you will need to call the plumber.
- If you notice puddles of water under the sink when you go to turn the water supply off this is another sign you will need to call the plumber.